
Few months ago, while my husband and 3 oldest boys went for a 2 week trip to India, I and my craftsy daughter wanted to surprise them when they were back, by upgrading/ re-designing areas on a strict budget. We chose the breakfast area wall, which had been previously painted a nice peach color by my husband during his so-called ‘paternity leave’ a couple of years back. We didn’t have much on this wall except a small wooden ‘Last Supper’ art. We easily relocated this to another wall of the breakfast area and started out our small adventure after a brainstorming session.

(This post may contain affiliate links)
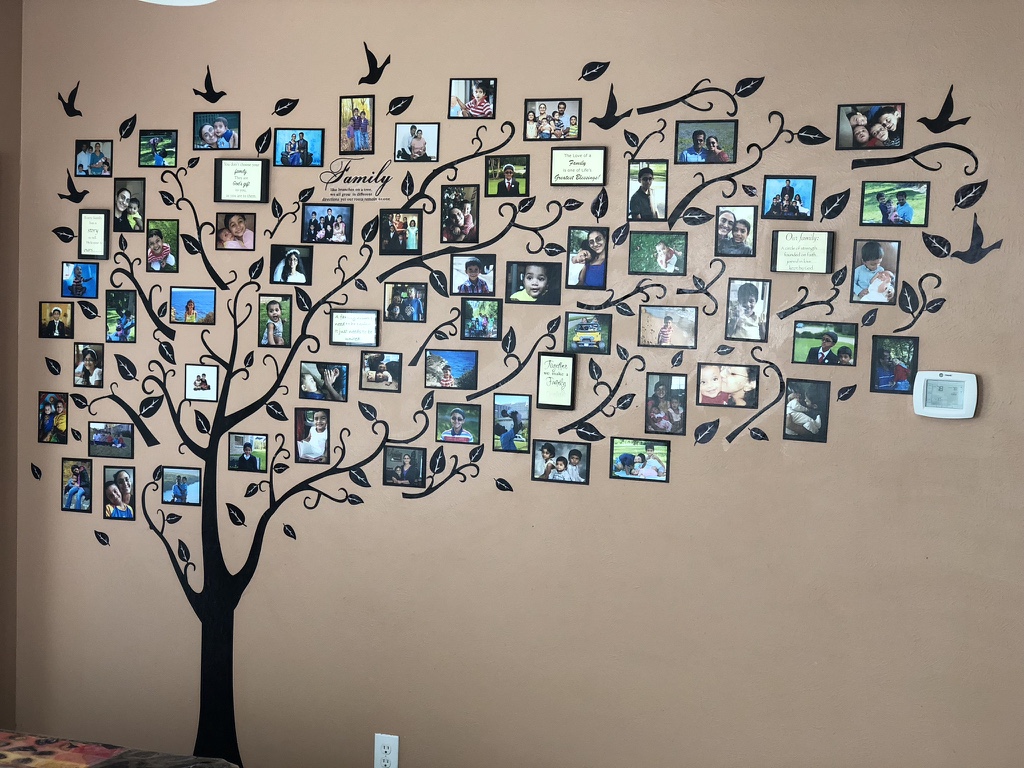
We decided upon a tree wall decal, with random pictures representing the previous 16 years since I and my husband were married.
We went on and purchased all the stuff we needed for this project, one by one, as we were sort of figuring out things as we were going. Also hoping that my husband wouldn’t see the Amazon notifications of the things ordered, as we were wanting to keep it as a surprise.;)
I’m posting a small tutorial as most people who came to my house, asked how we did this. I am not a DIY blogger, so unfortunately, I didn’t take too many pictures along the way.
Materials Needed:Tree Decal, Mod Podge, Paintbrush, Few small 4×6 inch photo frames, Cardstock paper, Printer, Chipboard, Paper Trimmer (not required), selected photos of good quality, nails and hammer
Steps involved:
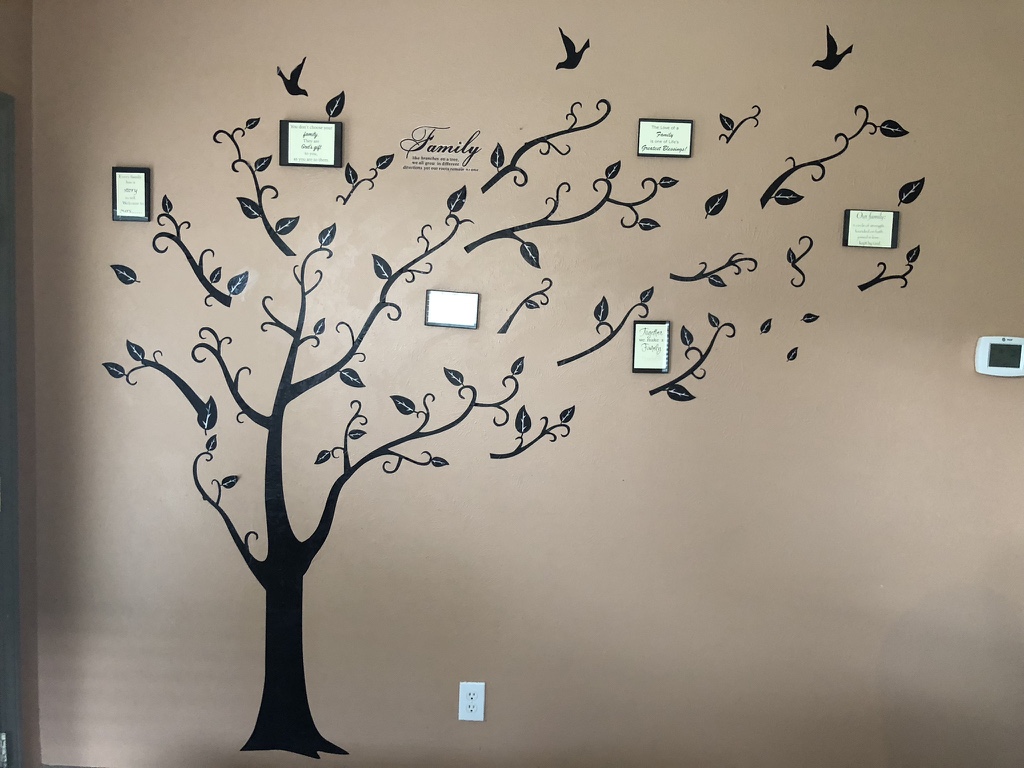
(1)Tree Decal– We chose the cheapest one we could find that was reasonably big enough and found this one to be the best for the purpose. ………
Since in a family of 10, even after being ultra- selective with the photos, we still had about 60 photos to display, we went for 2 decals, so we can use extra branches and leaves and spread it out a little more. We went ahead and applied it to the wall using the instructions in the packet.
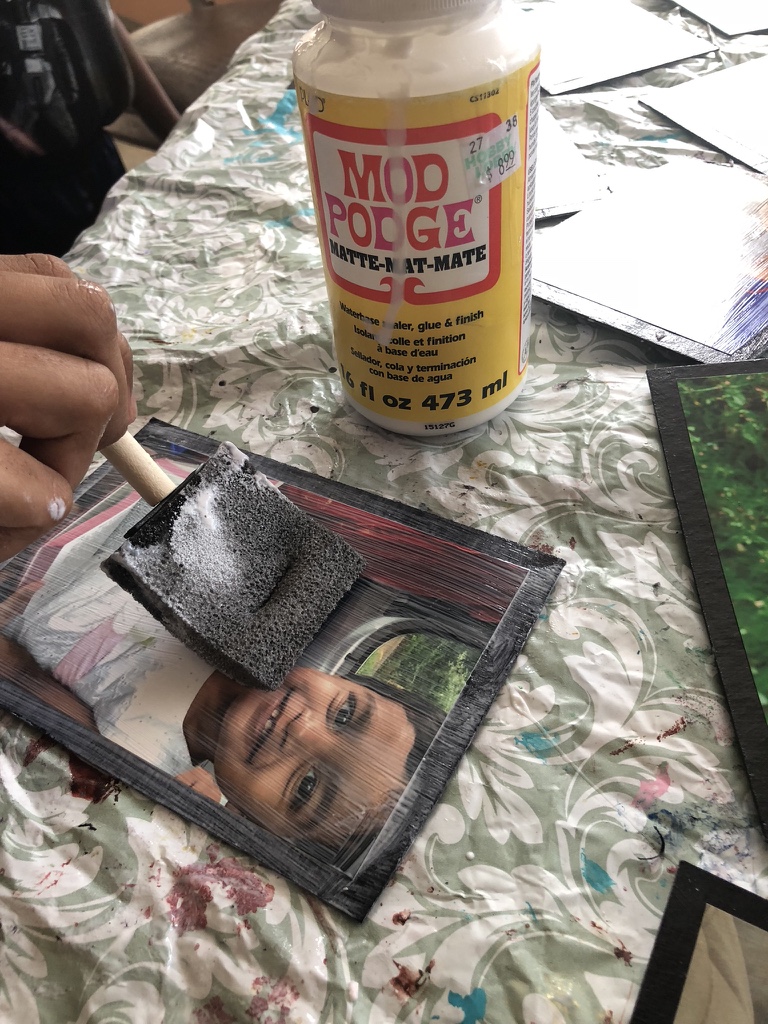
(2)We found that the decal doesn’t stick well enough on our wall, as it has an eggshell paint. So with the help of a paintbrush, we used Mod-Podge on the wall, before sticking the decal and applied it on top of the decal also. Mod Podge is a thin water based craft-glue that is used as a sealant and decoupage medium. When it dries out, it becomes transparent. It is a very handy, multipurpose glue.
(2)Photos- This took some time on our part in trying to decide which all photos to keep, as it is very difficult to weed through 16 years of photos and select a good representative set. Fortunately, since I had been reasonably organized with keeping photos under respective years and months, we were able to tackle it without too much of a hassle.
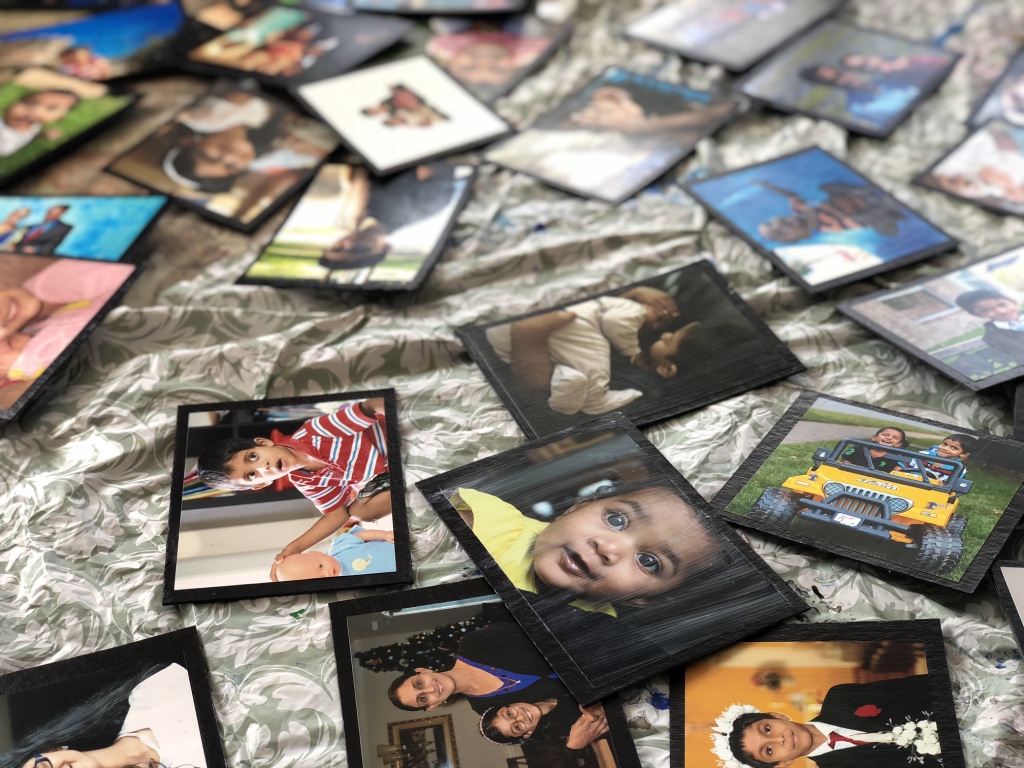
We gave the photos for printing, using 6×4 sizes, as they turn out to be much less expensive. Later, we trimmed off edges of some photos, so they appeared in different sizes.
(3)Black Chipboard-We needed several of these, as we needed to make a ‘frame’ for the photos. We simply cut them out in a way that it looked like there was a thin rim of black around each photo.
We used the paper trimmer, to make the edges even.
(4) Next was the fun part of applying the Mod-Podge to stick the photos to the black chipboard and also to apply a thin coat over the photos, to seal them.
(5)We also wanted our wall to have small picture frames with family quotes. I designed some quotes, and printed on cardstock. We inserted them into very inexpensive frames (less than a dollar each) that we found at Walmart.
We first found the perfect spots for the quotes, and put up the frames.
(6) We then then randomly put in the photos in a way that it stays within the spaces between twigs and branches. We finally added in the loose leaves and birds to give its final touch.
We had a small adventure with trying to get the photos to stick to the wall. First we tried double adhesive wall mounts, which did not serve the purpose, as they were coming off the wall, after some time. Then we tried Glue Dots. In spite of being so sticky, these couldn’t hold the photos either. I’m not sure if it has to do with the quality of the paint, or whether the chipboards were too heavy for the adhesive. So ultimately, we ended up having to use small nails to hold the photos in place.

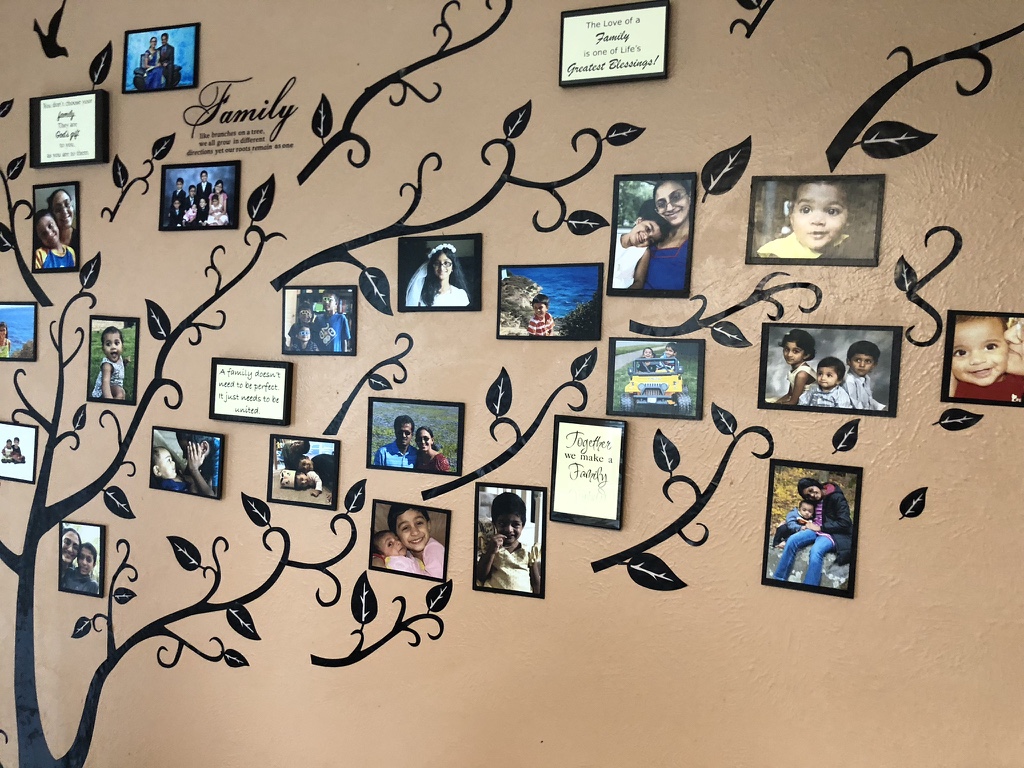
And our project was done!! The cost of this whole project was less than $30!
We hope to periodically update the photos every 2 years or so.
We were extremely happy we embarked on this project! Apart from the mother-daughter bonding in the process , we are sure we will all treasure this in the years to come, reminding us of all the good memories we made over the years.
And for taking the time to go through this post, you can grab these family quotes for free! Frame them and use for display on table tops or walls!
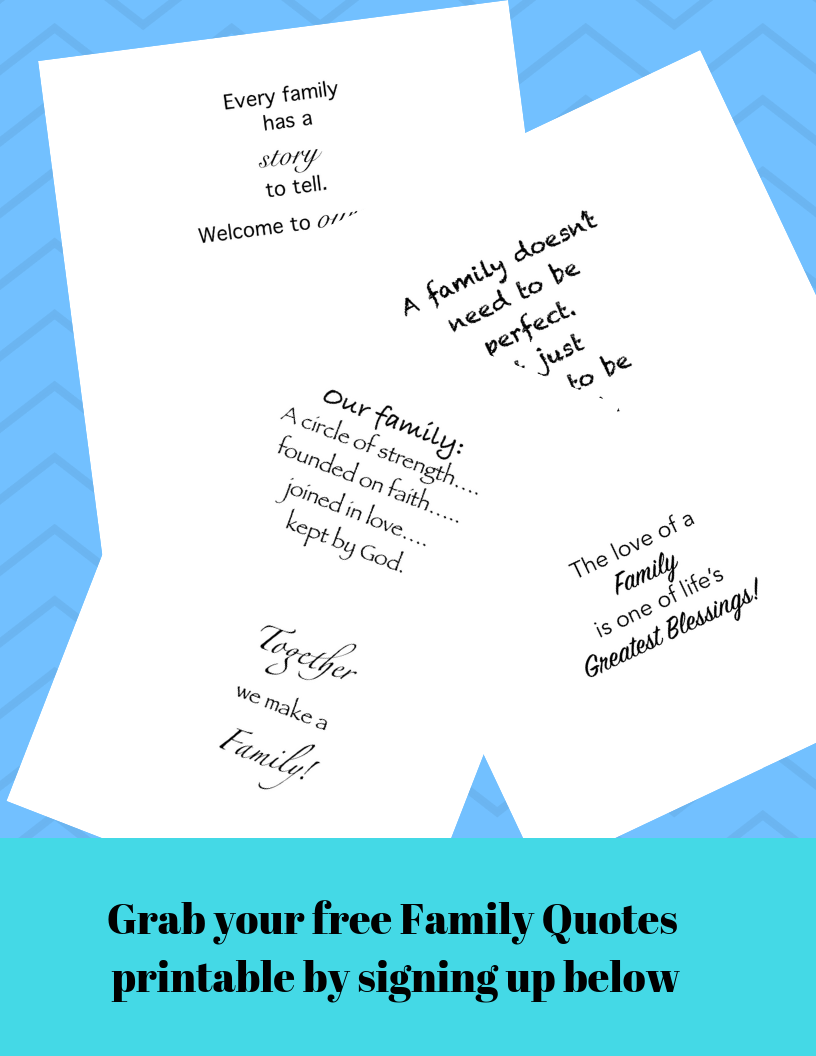
[yikes-mailchimp form=”3″]